Before I cast on, I always check my local yarn stores to see what I love. For this sweater, I wanted hand-dyed mohair — no cutting corners here. If you want your finished piece to look and feel luxurious, you have to invest in quality.
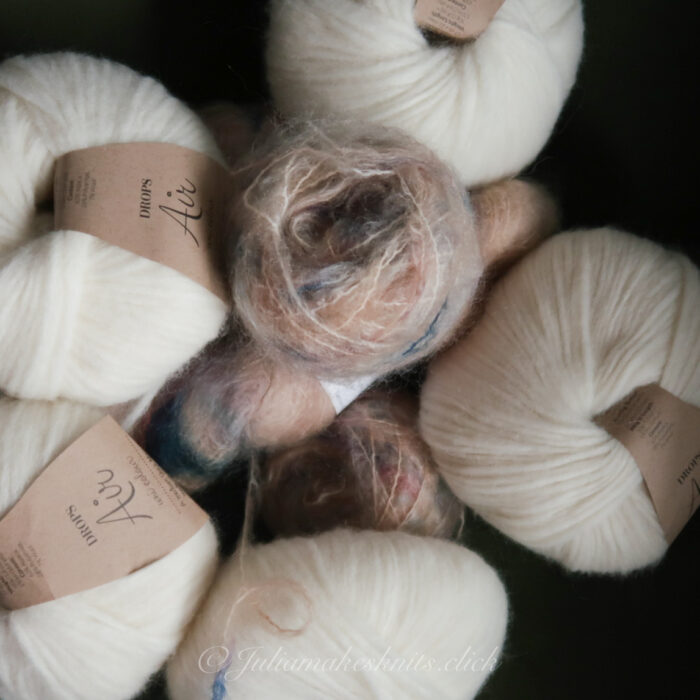
Pro tip: Choose a hand-dyed fat mohair instead of blending multiple silk mohair threads. Why? Silk mohair is pricier, and mixing three different skeins to get your perfect colour can quickly blow your budget. One skein of fat mohair = luxury without the headache.
Pro tip: Opt for a hand-dyed fat mohair instead of blending multiple silk mohair threads. Silk mohair can be pricier, and achieving a unique colour combo with it may require buying three different colours, which can add up quickly. Stick to a single skein of fat mohair for that perfect blend of affordability and luxury.
Next, I made savings on the merino blend. My choice: DROPS Air — 65% alpaca, 28% polyamide, 7% wool. It’s soft, affordable, and doesn’t compromise on quality.
If you’re on a tight budget, here’s a trick: pair a plain-colour fat mohair with a hand-dyed wool. The textures differ slightly, and the sweater will be a touch less fluffy, but the result? Stunning. Less fluff, slightly thinner, but still chef’s-kiss luxurious.
What you’ll need:
- 6 mm for the collar
- 8 mm (US 11) circular needle, 80–120 cm (32+ inch) for the body
- Needle size is a guide — always check your tension and adjust if needed.
- 3 skeins Yarnjunkies hand-dyed fat mohair in Maskebal (200 m each)
- 4 skeins DROPS Air alpaca blend, colour 01
- Gauge: 14 stitches = 10 cm
Instructions
Pattern Overview
- Construction: Top-down raglan sweater, knit in stocking stitch.
- Style: Relaxed fit with ~15 cm / 6 in positive ease at the bust.
- Finished length: ~67 cm / 26 in (neckline to hem).
- Details: Collar and all ribbings worked in neat 1×1 ribbing.
- The body is divided into front and back pieces. Short german rows are added at the back.
Cast-On & Stitch Counts
- Size S/M: 52 stitches
- Size M/L: 58 stitches
1 extra stitch to join into the round using the magic loop method.
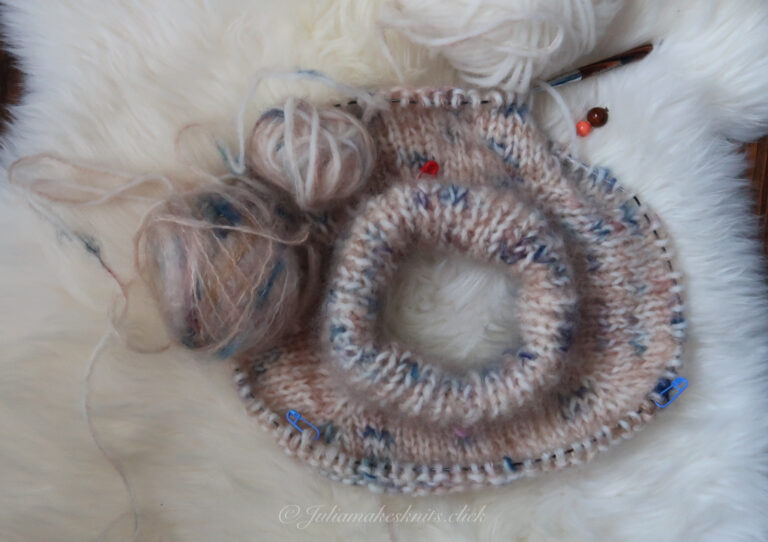
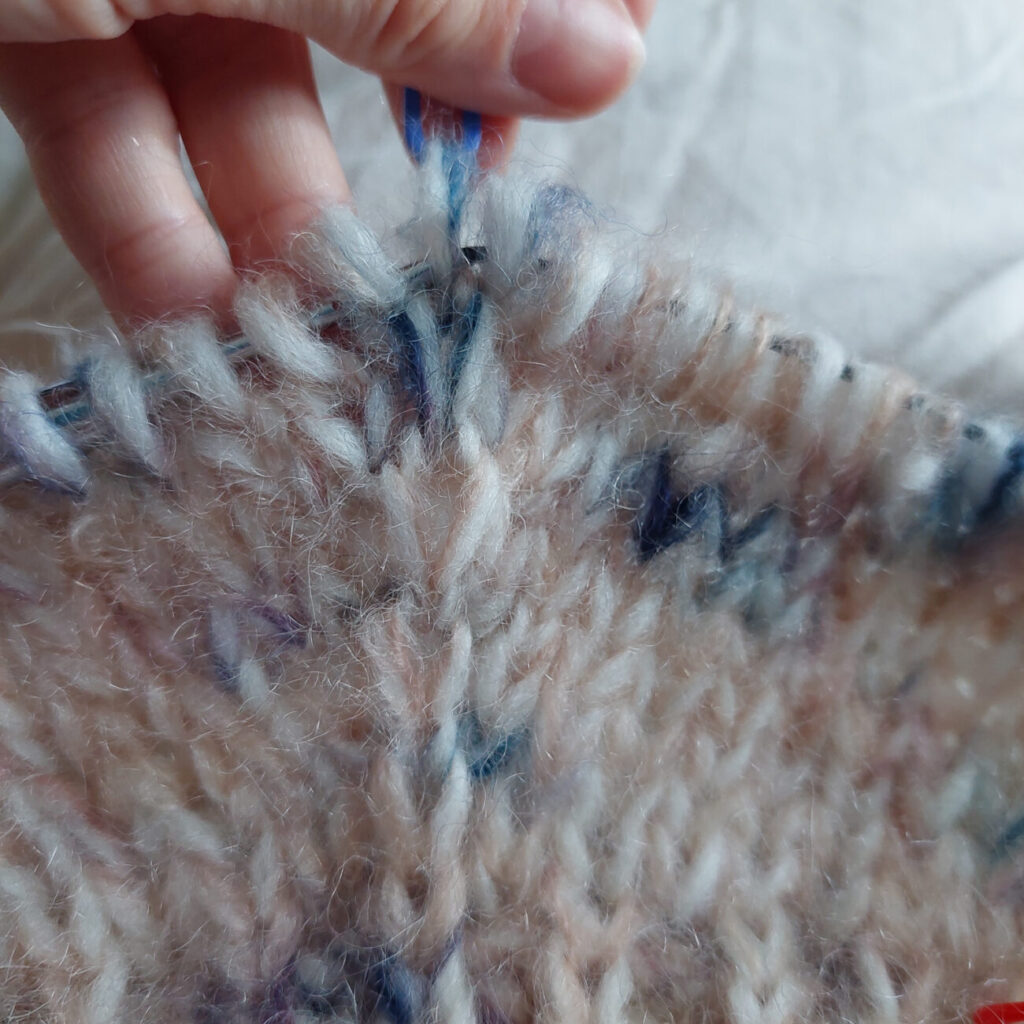
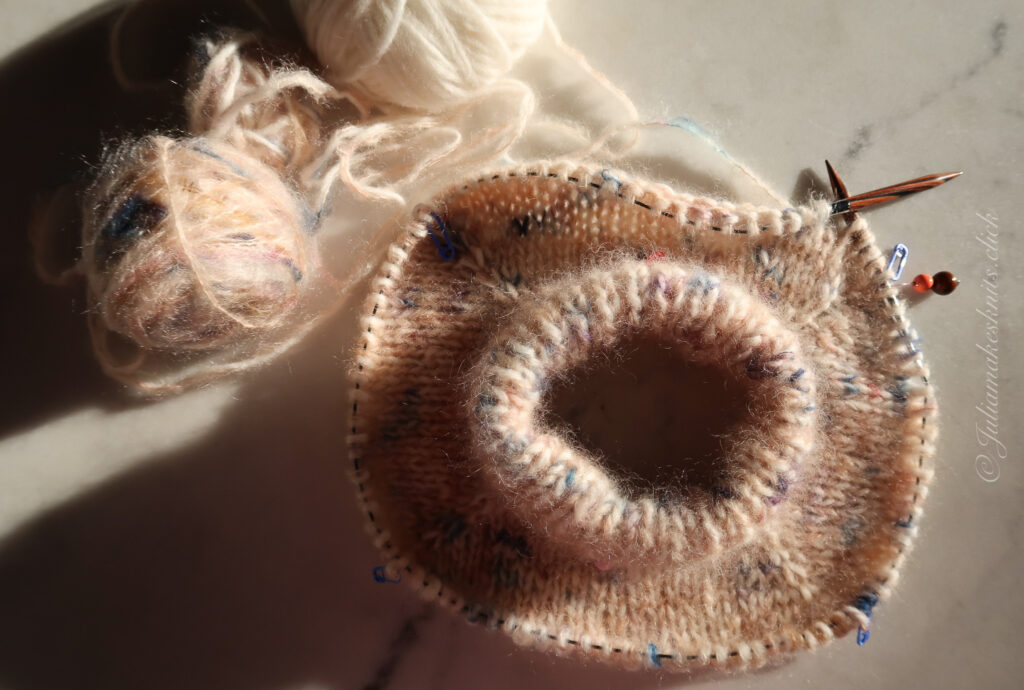
Step 1
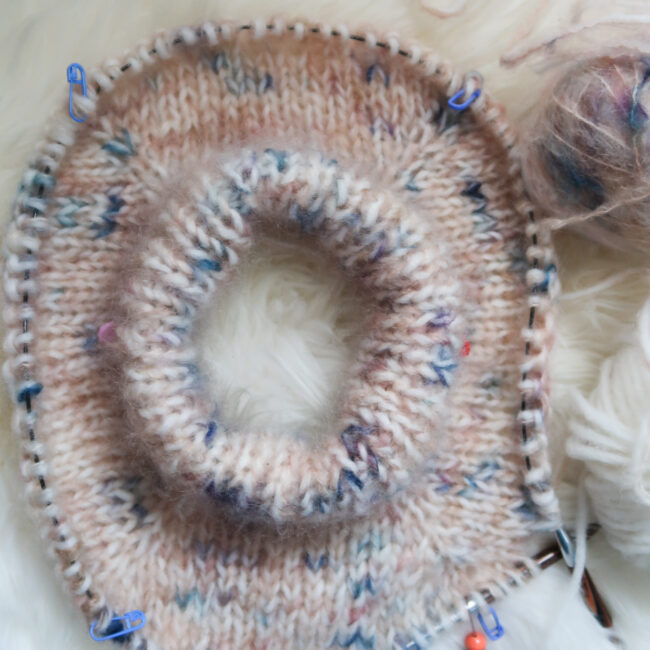
Double Folded Collar
- Knit 24 rows of 1×1 rib using 6mm needles, when reached the desired length fold the collar double to the inside.
- Work the next round of rib as before, working every other stitch together with every other stitch on the cast-on edge. How to video.
Step 2
Knitting the Raglan Yoke
Divide the stitches:
- Total stitches = 52
- Back: 14 stitches
- Front: 14 stitches
- Each sleeve: 10 stitches
- Place markers at all four raglan lines to clearly separate the sections.
Raglan length:
- For my Size S, I worked 24 rows in total.
- Knit until your desired yoke length.
Row types:
- Even rows: knit across in pattern.
- Odd rows: increases only. Increases made with M1R & M1L increases on both side of the raglan stitch.
Raglan stitches & increases:
- All raglan stitches are worked in knit stitch.
- Increase on both sides of each raglan stitch using:
- M1R (make one right)
- M1L (make one left)
- Effectively, you’re adding 1 stitch before and 1 stitch after the marker on each raglan line in every odd row.
Insider tip:
- These increases create the gentle diagonal lines from sleeve to body that give the raglan its classic shaping.
- Keep your tension consistent — too tight and the raglan line will pull; too loose and it will gape.
Step 3
Body: back & front
The full sweater length (neckline to bottom ribbing) is 52 cm / 20 in. Here’s how I shape the body once the yoke is done:
Stitch counts before separation:
- Back = 48 stitches (46 body stitches + 2 raglan stitches)
- Front = 48 stitches (same as back)
- Sleeves = 38 stitches each (to be set aside)
Separate the sleeves:
- Slip 38 stitches for the sleeve onto waste yarn or holders.
- Using the backwards loop method, cast on 5 extra stitches on the right needle to bridge the gap under the arm and connect the back to the front. I followed instructions from here.
- Knit across the 48 stitches of the back.
- Repeat the sleeve separation on the second side, again adding 5 stitches under the arm, then knit across the 48 stitches of the front.
That very first full body row will feel loose and wobbly around the underarm stitches. Don’t panic — once you keep knitting, it all evens out and the looseness won’t show in the final fabric.
Add shaping with short rows:
Short rows = sneaky extra rows that add length to the back. They’re practically invisible but make the fit look tailored instead of homemade.
To stop your sweater riding up at the back, work 8 short rows across the back section.
Knit the body:
- Continue knitting in pattern until the body measures 36 cm / 14 in (about 60 rows).
- From there, you can transition into the ribbing for the hem.
Step 4
Sleeves
Pick up stitches:
- Start by picking up 38 stitches for the sleeve.
- Add 5 stitches under the arm, plus 2 extra stitches to avoid that pesky underarm hole.
- Total: 45 stitches on your needles.
Work the underarm stitches:
- Any stitches that don’t fit neatly into your sleeve pattern are worked in stocking stitch.
Shape the sleeve with decreases:
- Decreases are made 1 stitch before the row marker, using knit 2 together (k2tog).
- Work a total of 9 decreases to shape the sleeve from 45 stitches down to 36 stitches.
- First, make 5 decreases every 2nd row.
- Then, make 4 decreases every 5th row.
Ribbing for the cuff:
The final stitch count (36) is divisible by 2, which makes the ribbing neat and even. When you’ve reached 36 stitches, switch to 1×1 ribbing.
- Knit a total of 18 rows in ribbing.