This top-down raglan sweater is a fast, cozy project thanks to chunky yarns and large needles. Knit in one piece with no neckline shaping, it’s easy to assemble and perfect for customising colour, length, or style. Hope instructions are easy to follow for knitters of varying experience.
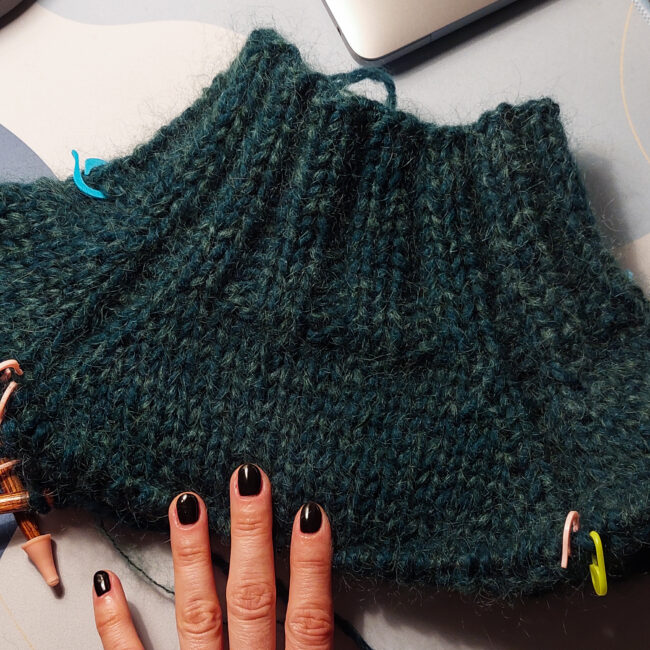
I went for raglan style, so I have distinctive “seams” between the front, back, and sleeves that form diagonal lines running from the neck edge to the base of the armholes. Beginning at the neck, the number of stitches on the front, back, and sleeves will increase at regular intervals along these lines. This gives each section a triangular shape and will fit nicely at the shoulders.
Project timeline: 30th October – 11th November 2023
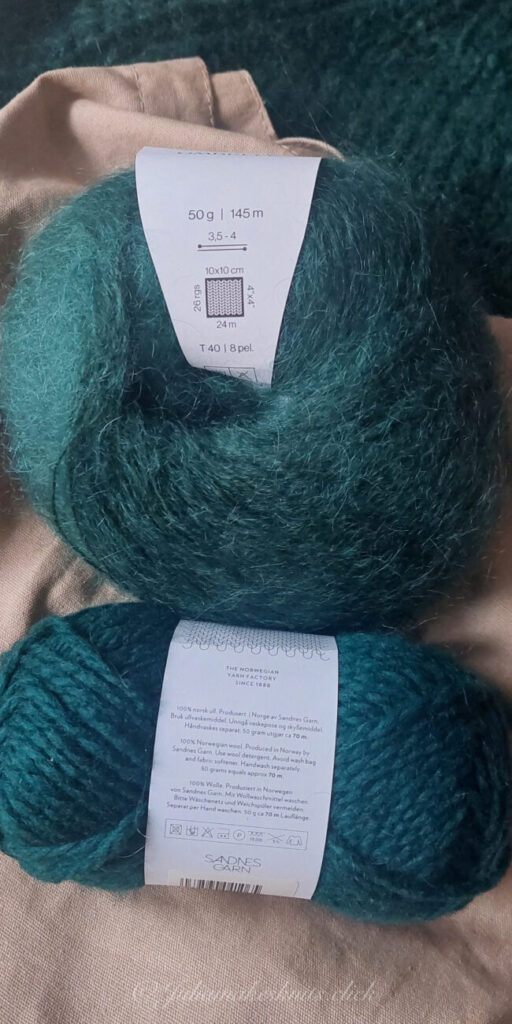
Yarn: 4 skeins mohair (145m), 8 skeins wool (70m)
Needles: 8 mm / US 11 circular (100 cm), ribbing + turtleneck in 7 mm (80 cm)
Gauge: 10 cm = 11 sts

Instructions
Pattern Overview
This top-down raglan turtleneck sweater is designed with slightly oversized ease, even in size S. That means the finished garment fits roughly a half-size larger, giving a relaxed, cozy silhouette without being sloppy.
Cast-On & Stitch Counts
- Size S/M: 56 stitches
- Size M/L: 64 stitches
- Or any number divisible by 8 for easy raglan symmetry
Example:
- Bust measurement: 90 cm (35.5 in) = Sweater measurement: 41 cm (16 in) across front/back after all increases
- After raglan shaping, front/back = 44 stitches each
Turtleneck:
- 14 Rows 2 x2
- Keep the neckline snug but not tight. Avoid casting on too many stitches to ensure the collar sits comfortably around your neck.
Knitting the Raglan Yoke
After completing the turtleneck, switch to 8mm needles. Raglan is knitted with alternation of increase and no increase rows. In my pattern I made raglan lines as 2 purl (P2) stitches.
Stitch division:
- Total stitches = 56
- Back: 14 stitches
- Front: 14 stitches
- Each sleeve: 10 stitches
- Place markers at all four raglan lines to clearly separate the sections.
Raglan Yoke:
- Odd rows = increase rows (M1R & M1L on either side of the raglan stitches)
- Even rows = knit across in pattern
- Total rows for Size S: 22 (~24 cm / 10 in). Knitted with 8mm needles 22 rows will measure up to about 24 cm (10 in). This is a standard raglan line length for size S.
- Average raglan length for S/M: 25 cm
- Keep the raglan lines visible using 2 purl stitches (optional; can do all knit if you prefer stockinette)
- Pro tip: Adjust raglan increases to prevent sleeves from being too wide – e.g., increase sleeves only every 4th row, while keeping front/back the same – do. this on every fourth row starting from row 22 up to row 30.
I chose make one increase method throughout the pattern and my increases are made on either side of the raglan line markers. One increase comes before the marker and one after the marker, in between markers I have 2 purl stitches. On my increase row I will be adding a total of 8 stitches (i.e. 2 increases around 4 raglan lines).
Step-by-step raglan knitting rapport: all odd rows are increase rows all even rows are no increase rows.
- Pick up 56 stitches from the turtleneck on 8mm needles
- 1st increase row (odd): P2 (raglan line), M1R (make one right) increase, knit 10 stitches of the sleeve, M1R, P2 ( raglan line), M1L, knit 14 stitches of the front, M1R, P2 ( raglan line ), M1R, K10 of the sleeves, M1R, P2, M1R, K14 of the back, M1R.
- 2nd no-increase row(even) : P2, K12, P2, K16, P2,K12, P2, K16.
- 3rd row: M1R increase on either side of the 2P raglan stitches
- 4th row: no increase and so on.
Total stitches after increases and including the raglan sts = 2( raglan) + 12 (sleeve) + 2 (raglan) + 16 (front) + 2(raglan) + 12 (sleeve) + 2 (raglan) + 16 (back) = 64
At this stage of the raglan:
- Front: 44 stitches
- Back: 44 stitches
- Each sleeve: 34 stitches
- Each raglan line: 2 stitches
Total stitch count on the needles =2 (raglan) + 34 (sleeve) + 2 (raglan) + 44 (front) + 2 (raglan) + 34 (sleeve) + 2 (raglan) + 44 (back)
= 164 stitches
Optional Short Rows for Better Fit
This is totally optional, but in my case I add 5-6cm (2 inches) of short rows at the back of the sweater. Working a series of these short rows creates a wedge of fabric, resulting in a little more fabric in the back yoke and giving your sweater a slightly better fit by raising the back of the neck higher than the front. The benefit of adding short rows is that it gives your sweater a slightly better fit. See how to knit short rows here.
- Worked at the bottom of the yoke before splitting for sleeves/body. At his point, all of the raglan increases are completed.
- On the back knit across 2 raglan sts + 44 back + 2 raglan until desired length. Right Side: K4, turn work, Wrong Side: P48 continue until 5cm in length
Body: back & front
I adjusted the stitch count of my current project to maintain consistency with my desired pattern. I reduced the total stitch count by 4, resulting in 104 stitches for my ribbing. Despite the initial total stitch count being 108 and divisible by 4, I needed to ensure that my pattern of 2 purl stitches of raglan lines remained intact.
Put sleeves on hold:
- Slip all sleeve stitches onto waste yarn or stitch holders.
- This clears the needles so you can focus on knitting just the body.
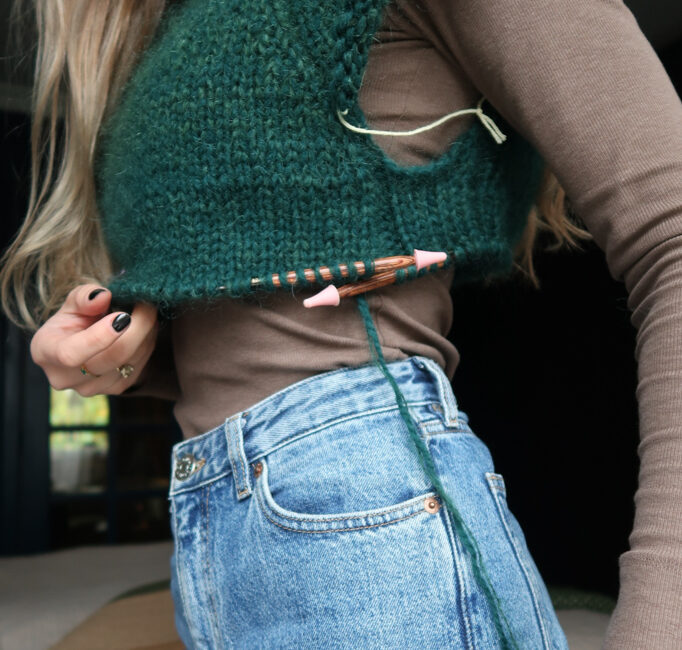
Cast on underarm stitches ( see image below )
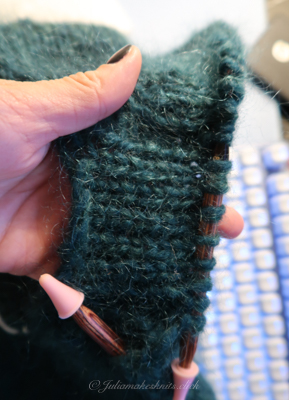
- Using the backwards loop method (or your preferred cast-on), add 6 new stitches under each arm. See image
- These stitches bridge the gap between the front and back sections and give the sweater proper armholes.
Join into the round:
After putting sleeves on hold and casting extra sts, you knit in round. I follow the pattern and kept my raglan line as purl stitches, which is optional and you can do all knit / stockinette pattern.
- You knit across:
- the back section,
- the 6 new underarm stitches,
- the front section,
- and the other 6 underarm stitches.
- At this point, your sweater body is worked as one continuous tube in the round – it finally looks like a real sweater!
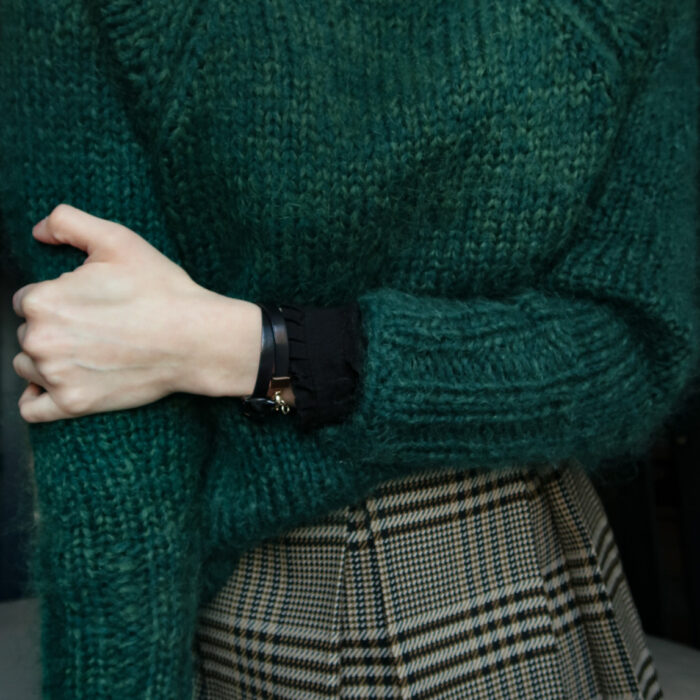
Sleeves
When I picked up all the stitches for the sleeve, I ended up with 34 stitches on my circular needles, along with a total of 12 casted underarm stitches. This brought the grand total to 46 stitches. To achieve the desired width for the ribbing, I needed to make reductions using the knit two together (K2tog), ultimately narrowing it down to 24 stitches in total for the ribbing.
- Knit sleeves in the round until desired length. I opted to narrow sleeve around wrist (e.g., 24 sts) to fit under jackets/blazer
- Example: 44 rows for sleeve + 20 rows for cuff 2 x 2 ribbing
- Reduce stitches via K2tog if needed to match ribbing width