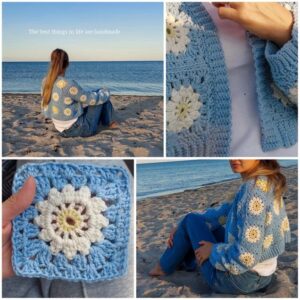
This project is perfect for knitters (and crocheters!) who want something relaxing and beginner-friendly. Most of the work is on edges and sleeves, and I’ve combined crochet and knitting to create a drop shoulder look.
Stitches are picked up and worked in a round on a circular needles. Sleeves are straight and made with 2 granny squares finished with stockinette stitch pattern of desired length and finished with 1×1 rib stitch for 6 rows.
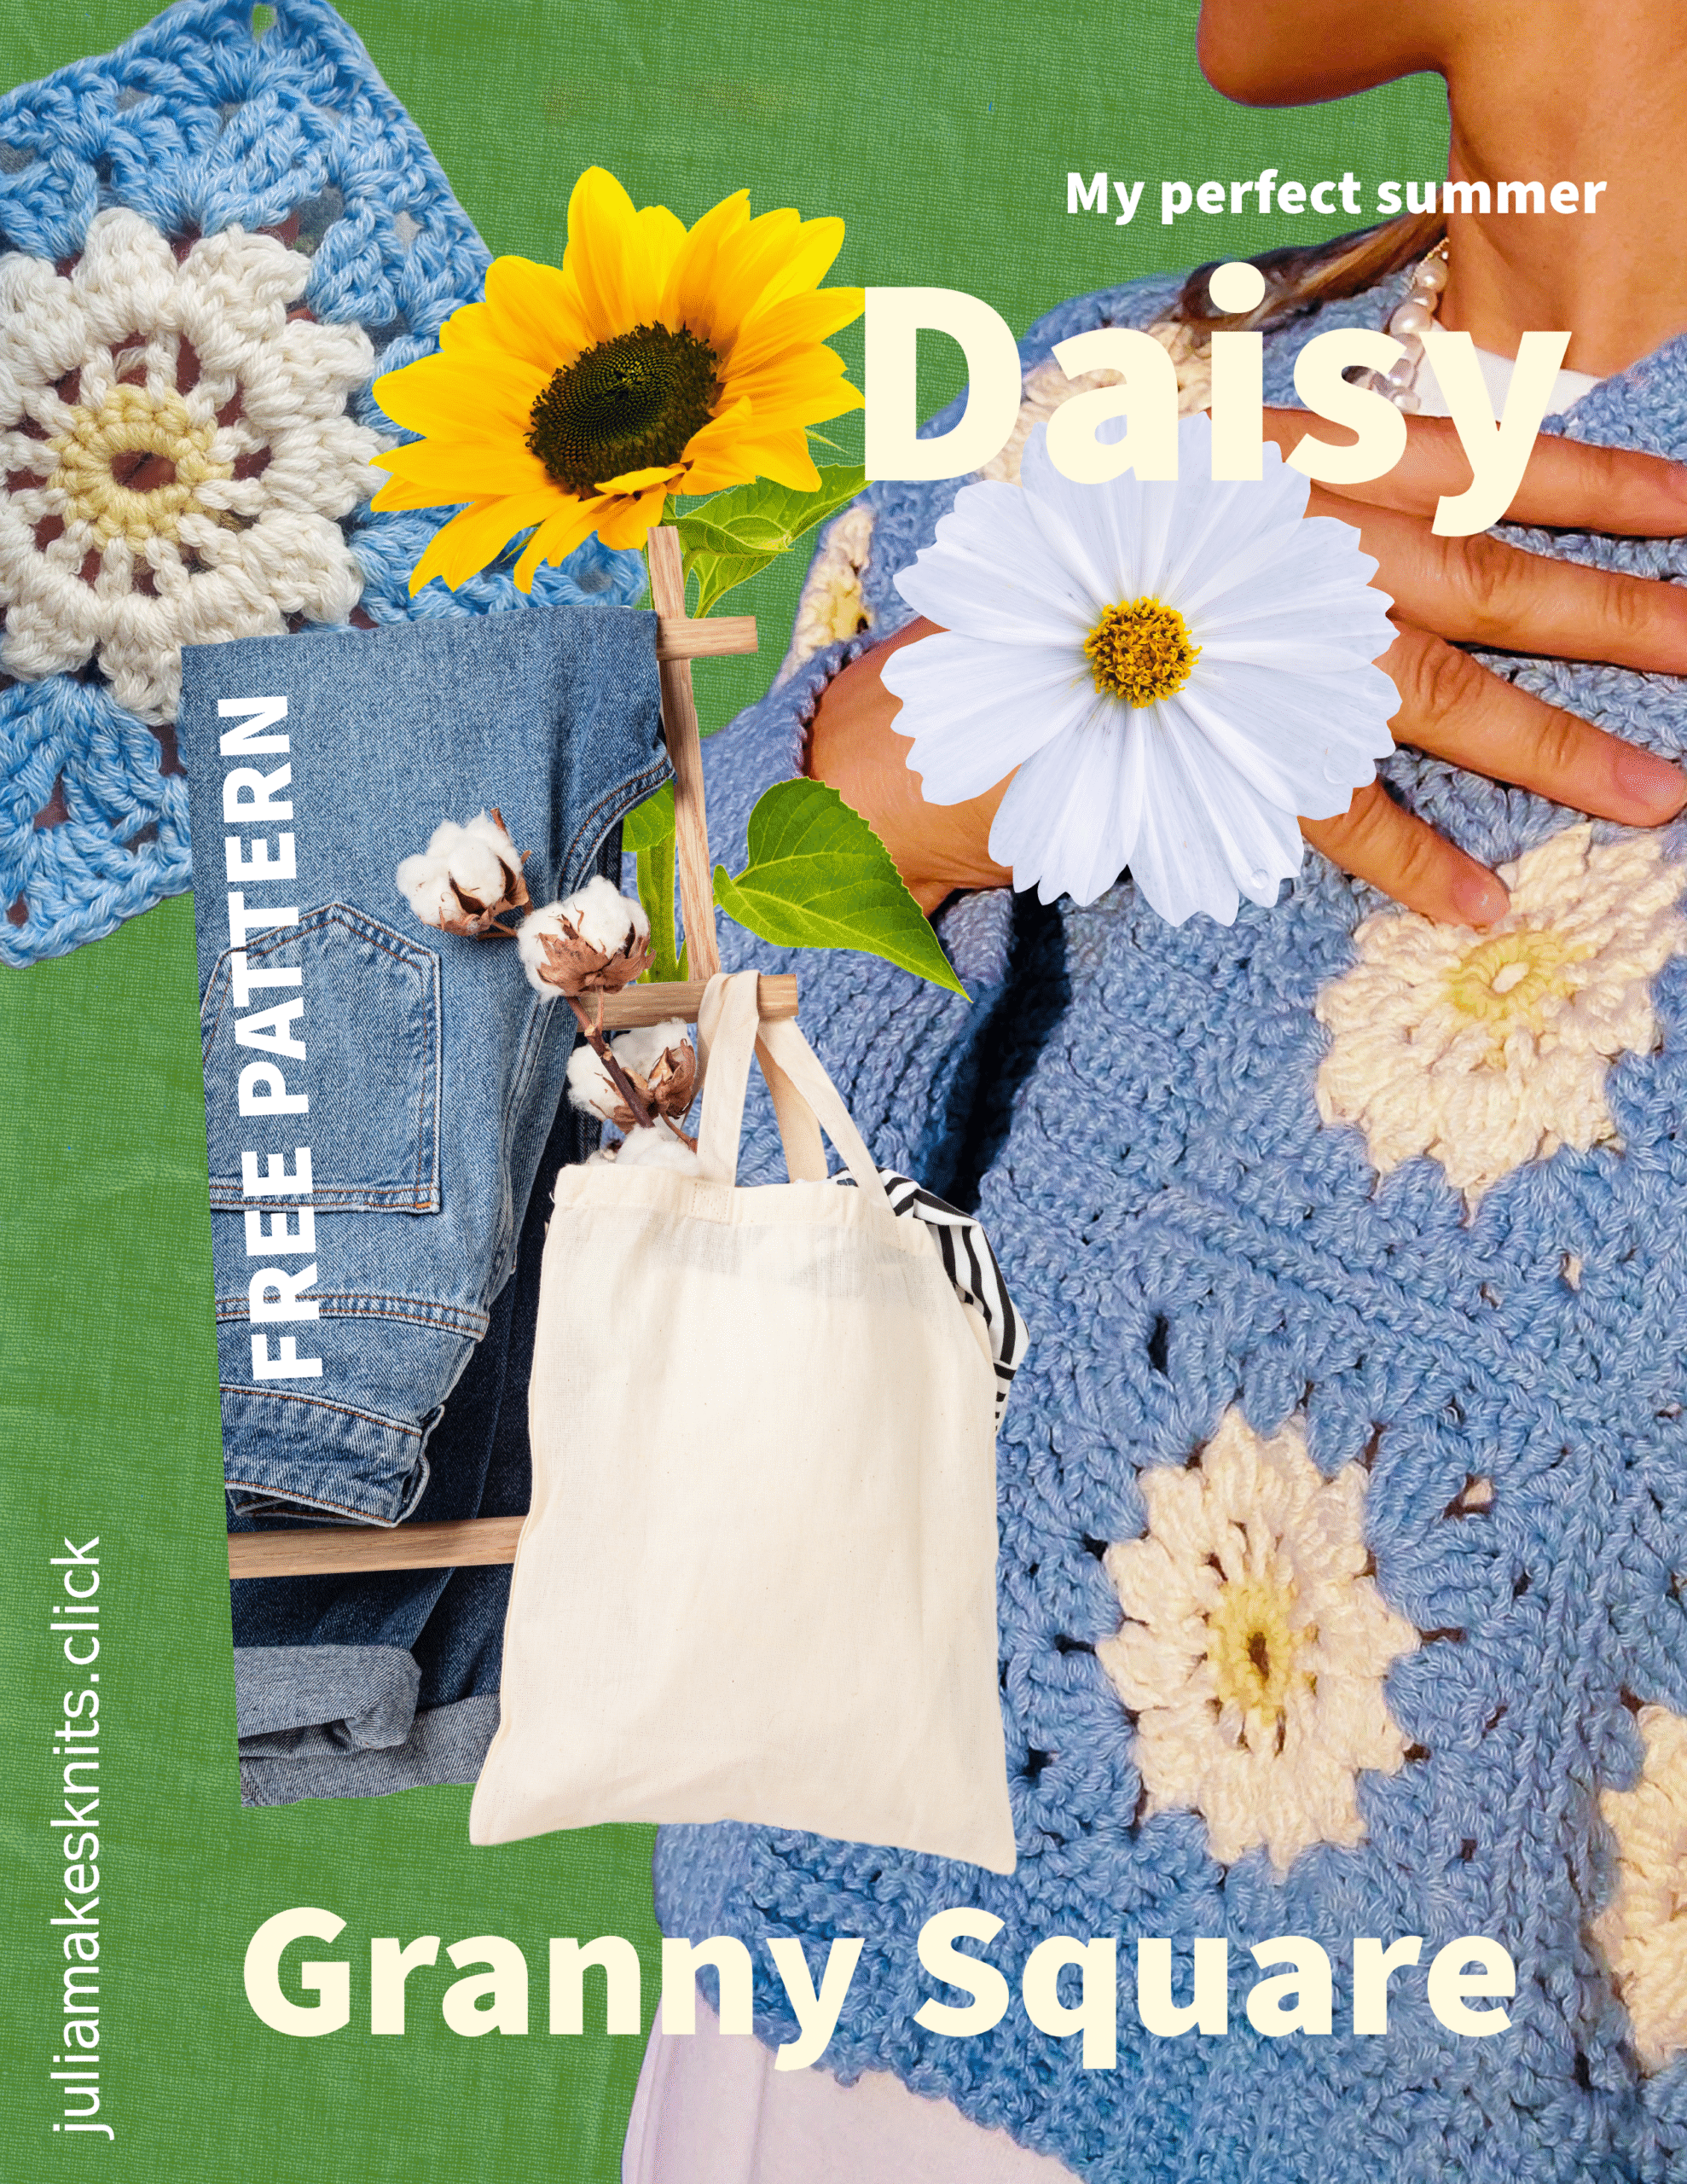
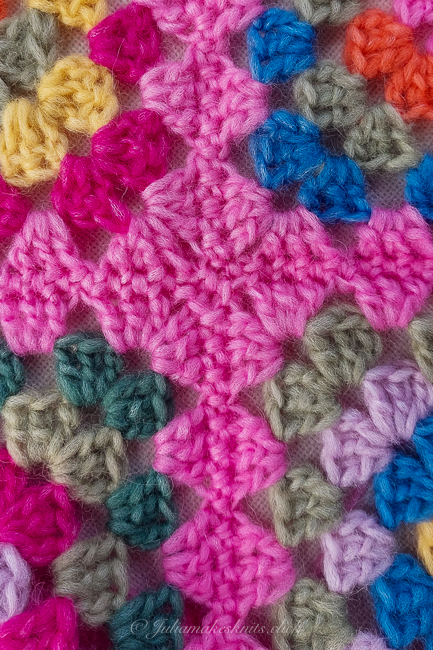
Granny Squares
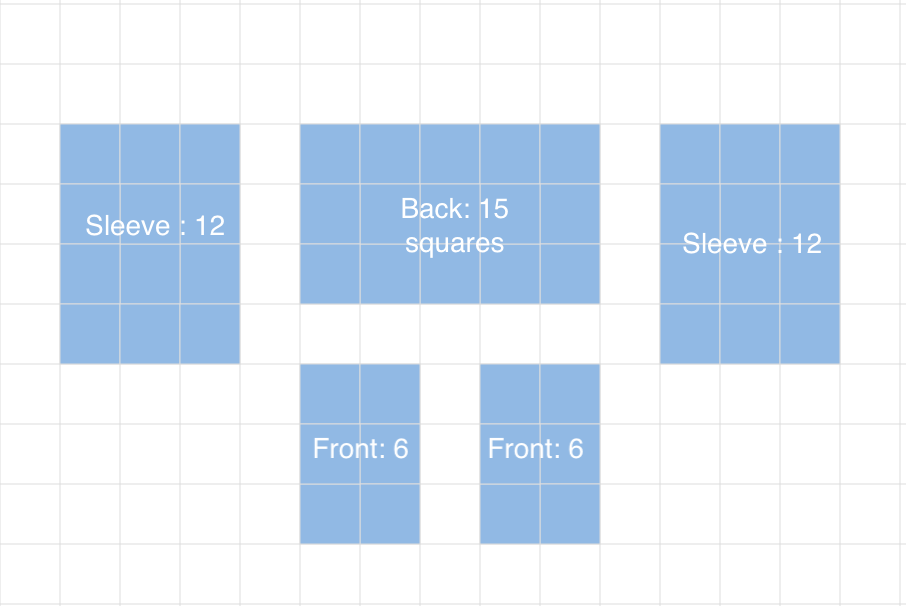
Each square measures about 17 cm (7 in) — adjust the number of squares for your desired fit. For my S/M size with an oversize look:
- Front: 8 squares (2 per shoulder)
- Back: 12 squares
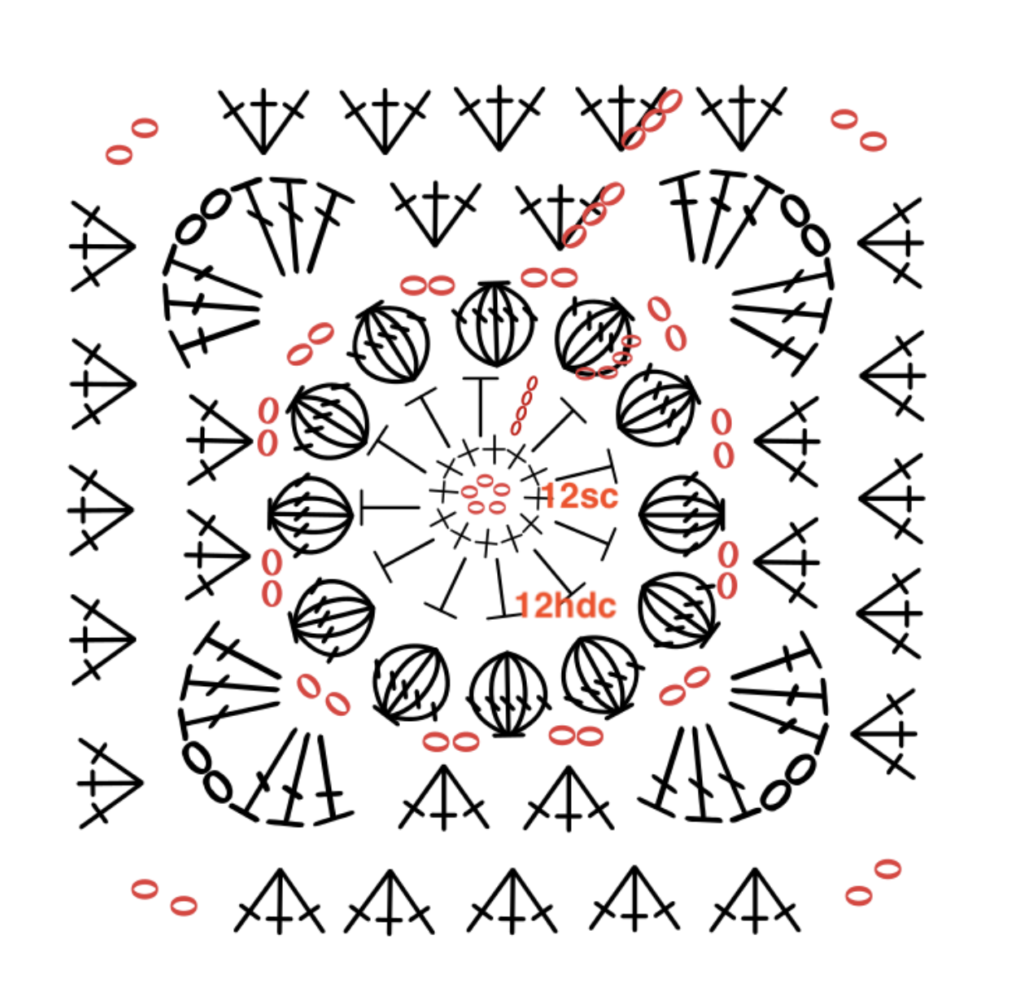
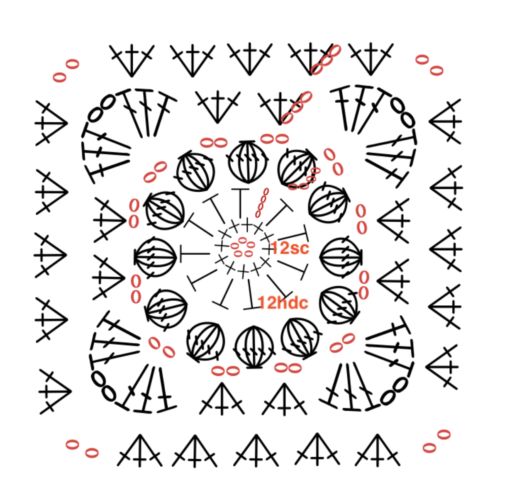
Step-by-Step Rounds:
- Round 1: Chain 4 and join with a slip stitch to form a ring.
- Round 2: (Corners) [3 ch, 2 dc] 1 ch, then [3 dc] 1 ch, repeat [3 dc] 1 ch two more times, join to top of initial 3 ch.
- Round 3: In the first corner space, make [3 ch, 2 dc], then [3 dc, 2 ch, 3 dc]. 1 ch, make [3 dc, 2 ch, 3 dc] in next corner, repeat for remaining corners, 1 ch, join with slip stitch.
- Round 4: Repeat Round 3, but add an extra 3 dc group in the 1 ch space. Corners remain [3 dc, 2 ch, 3 dc].
- Round 5: Repeat Round 3.
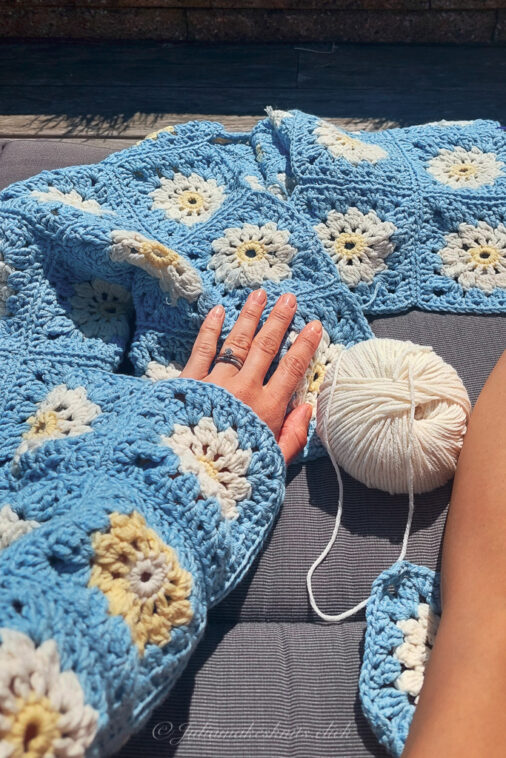
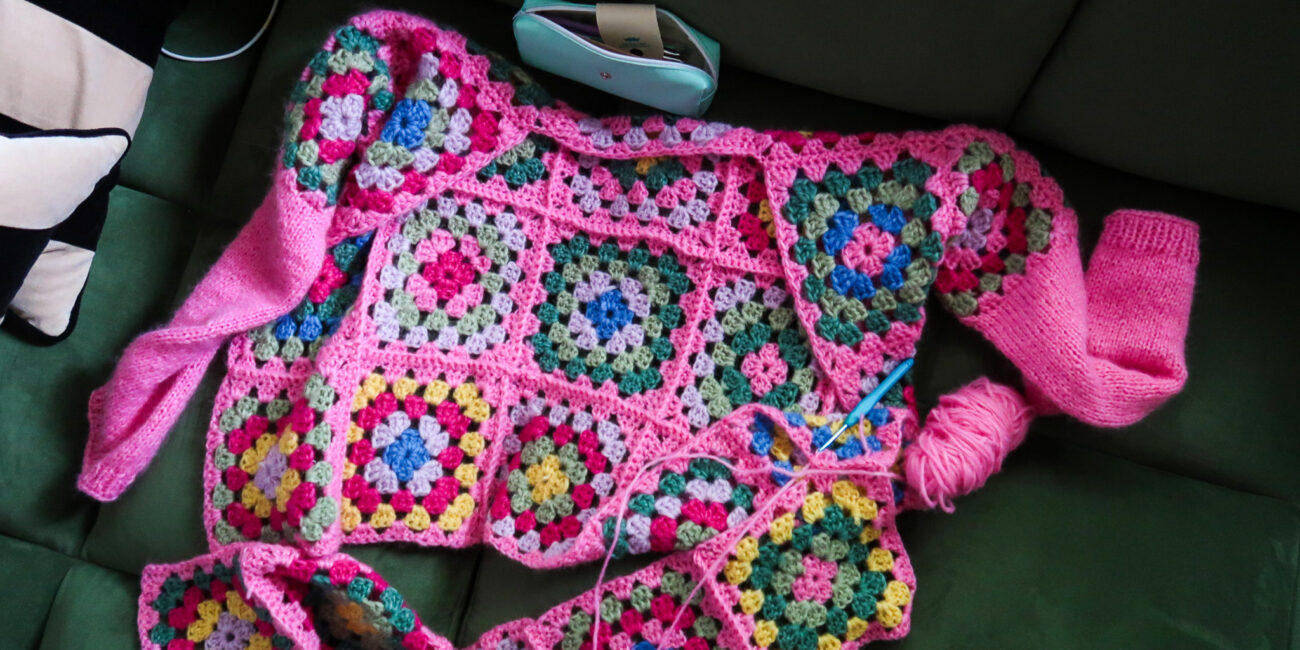
Joining Squares:
- Use single crochet (SC) to join all squares for the front and back panels.
- Best way to get the perfect fit: try it on as you go. It’s better to make more squares than make squares bigger.
Yarn Choice:
- Viking Alpaca Bris Yarn: 60% Baby Alpaca, 11% Merino Wool, 29% Nylon
- Lightweight, warm, perfect for early autumn, or layer for colder weather.
- Note: This yarn is easier to knit than crochet. Frogging (undoing stitches) can be tricky, so plan accordingly.

Sleeves
After joining 2 granny squares I picked up 46 stitches for S/M size. For my desired length I made 70 rows. Ribbing is reversible, to achieve this Purl is knitted with back loop.
Cast off.
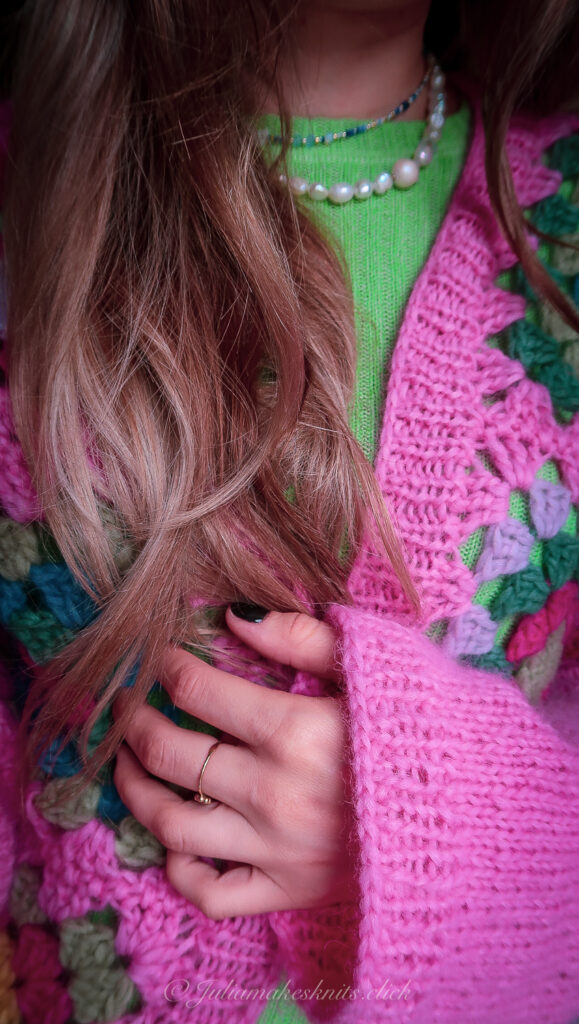
Edges
Edges are knitted 1×1 Rib Stitch to the desired length. Minimum 5 rows.
- Row 1: *k1, p1*
- Row 2: *k1, p1*
Cast off.
To pick up stitches I used a crochet hook, and picked up every stitch on the square.
Tip for Blocking:
- Do not wet block the alpaca squares. Alpaca has no stitch memory and will overstretch.
- Instead, lightly mist each square with a spray bottle and lay flat to dry.